Create a Memorable Elementary Biography Wax Museum in 4 Simple Steps
One of our favorite events to do with our students each year is our biography wax museum! We see the tired but proud smiles on the students’ faces after they finish sharing their hard work, and it always reminds us what a great experience it really is.
We literally get to see their confidence grow right before our eyes and parents LOVE seeing their child perform. There are always exclamations of gratitude that we have given their child a platform to shine.
Want to try a biography wax museum in your own classroom? It’s easy, just follow these four simple steps! Also, make sure to grab the FREE Wax Museum resources to use with your students.

Step 1: Research and Write a Biography
Our wax museum is the culminating project after we have finished our biography unit. During this unit students choose a famous person that they want to research.
We always stress to the students that at the end of the unit we will do a special presentation where they will need to portray the person that they choose. We involve parents in the decision so that they are well aware of this!
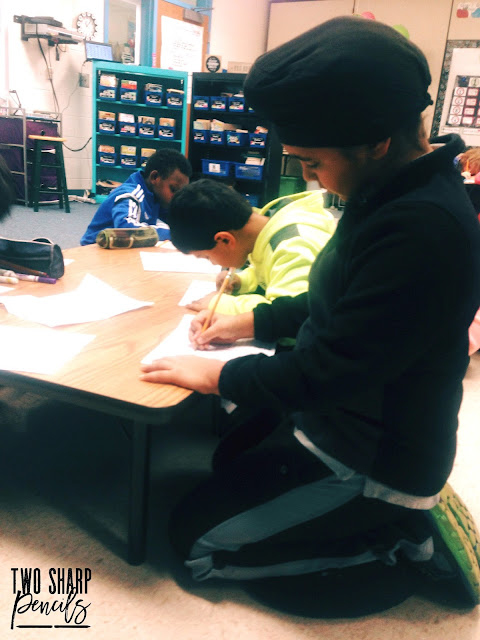
The students create a final report about their person’s childhood, adulthood, accomplishments, and importance. When they have finished it, it is time to introduce the wax museum.
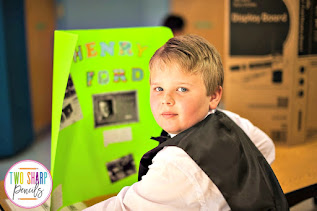
We start off by talking about what a wax museum is and show pictures of actual museums such as Madame Tussauds. We tell them that they are going to dress up like the person they have studied and freeze in place; but what makes our museum special is that if you press a button they come to life!
Step 2: Send Home a Parent Letter
The students are given an assignment to work on at home. There are three parts to the assignment:
- They create a 1-2 minute speech about their person’s life, speaking as if they really are that person (this is a good time to talk about using pronouns I and me). We recommend that students try to memorize it but we allow them to use index cards.
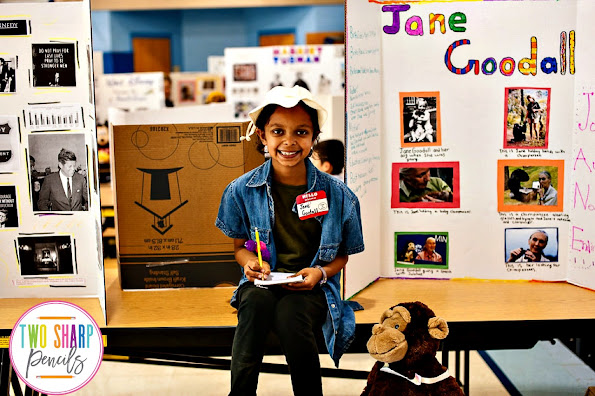
- They design a poster with pictures of their person at different stages in their life. Tip: Have students get trifold boards if they can. They are easier to stand up on tables.
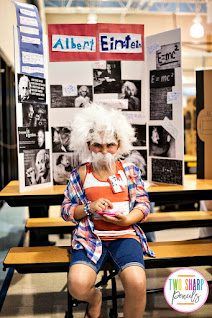
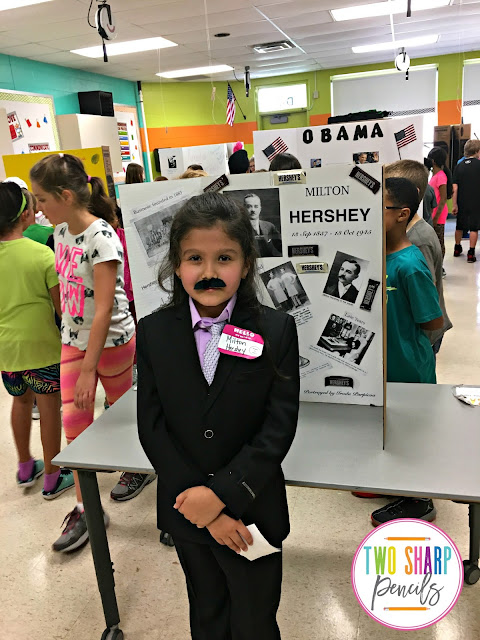
- They come up with a costume and props that will help them “become” their person. We always stress to students that they can use whatever they can find around the house. If they would like to purchase something, it is fine, but definitely not required.
We usually give about 3 weeks for students to work on this assignment at home, making sure to check in with them each week. We schedule a day performance where classes from the school can sign up to come and an evening performance for the parents.
Step 3: Practice Makes Perfect
Finally we have a dress rehearsal for the biography wax museum the day before the performance where the students bring their speech (without the costume or the poster) to practice. We tell students that they need to share their presentations as if it were the real performance, reminding them to use lots of expression and speak slowly and clearly.
Tip: Grade the students on their speech and presentation during the dress rehearsal. It makes it easier to grade only the poster and costume on the day of the actual performance.
The dress rehearsal is a good time to tell students that they will encounter different situations, especially when the audience includes children. They may have someone press their button and walk away in the middle of sharing. We tell them that if that happens they should just stop.
Also if they have students pressing their button multiple times and being silly they can do the speech once and then freeze back into their positions. It’s important to encourage them to not get discouraged if these types of things happen. It’s a part of the experience.
Step 4: It’s Showtime!
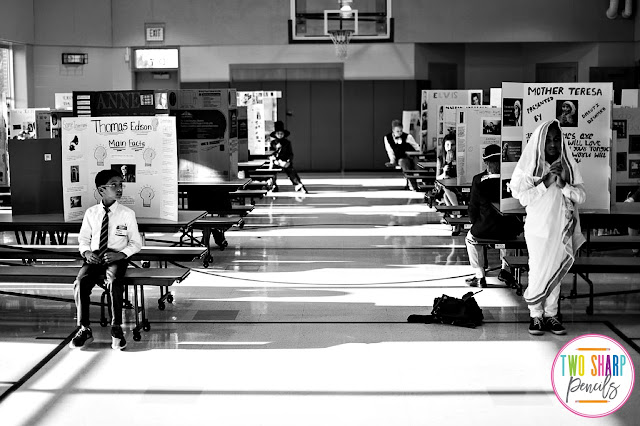
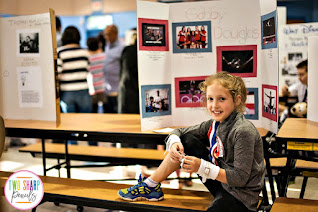
On the day of the performance the students get dressed and we attach their “buttons” using paperclips. They stand in front of their posters and freeze in a position. When the crowd comes in the students should be perfectly still. Someone presses a button and with that our wax museum comes to life!

Putting on a biography wax museum may seem overwhelming but it’s really not. It is a worthwhile experience that students will be sure to remember! Click on the button below to grab a 6 page FREE resource including tips, a parent letter, project checklist, grading rubric, and more!

Looking for a resource to take your students through the whole process from research to writing the biography to putting on a museum? Check out our Biography Research Museum Project below!


Organizing an elementary biography wax museum can be a fun and educational way to teach children about historical figures while allowing them to showcase their creativity and public speaking skills. We hope that you give a wax museum a try with your students!
If you are looking for more engaging literacy activities, check out our blog posts below!

Excellent idea and a great way to engage students in learning. Love it.